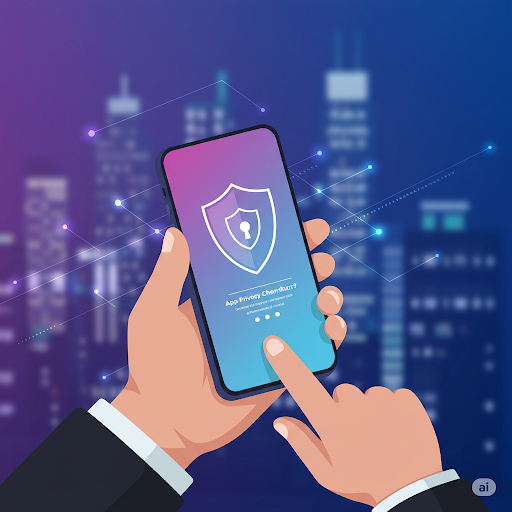
Phone Tracker & GPS Location: Share location by codes to keep loved ones safe
Share live location safely, find lost phones, and keep your family within reach.
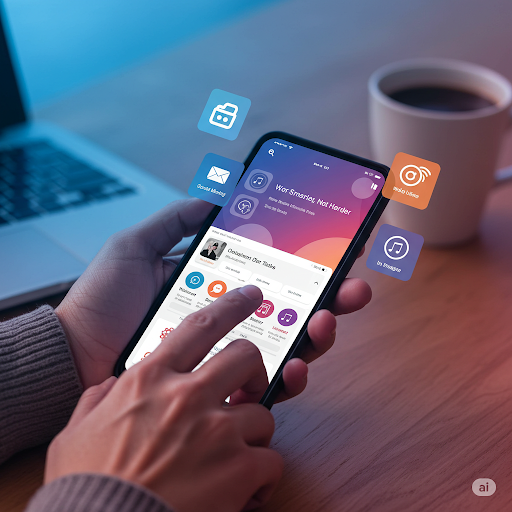
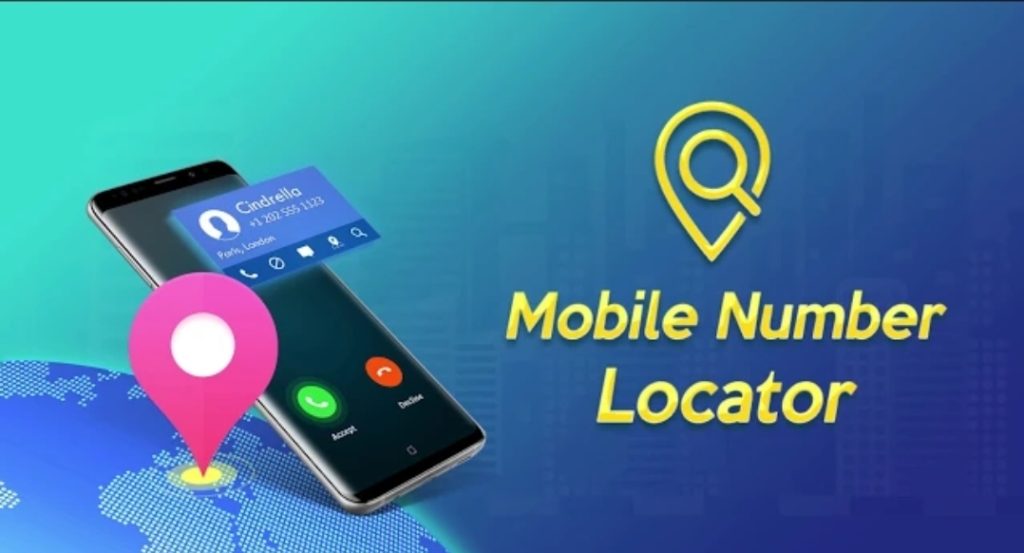
Phone Tracker & GPS Location app is a smart, easy-to-use solution for responsible location sharing and real-time tracking. Whether you’re locating your own devices or staying connected with loved ones (with their consent), this phone locator app helps you manage location updates, share codes securely, and stay informed.
⭐ KEY FEATURES OF Cell Phone Tracker:
– Privacy and Consent First: Location sharing requires mutual agreement and ensures that your data is private and secure.
– Precise GPS Location: Use accurate GPS technology to locate your own devices or connected users who have agreed to share their location using Cell Phone Tracker.
– Easy Code Sharing: Invite trusted individuals by sharing a unique code to connect and exchange location – only with permission.
– Multi-Device Support: Track multiple phones (with consent) from one account—perfect for families using the same Cell Phone Tracker account.
– Real-Time Updates: View live location data on a customizable map with various display styles using this powerful phone tracker.
– History Tracking: Review GPS location history over time with a time filter, helping you analyze past movements via Phone Tracker & GPS Location.
– User-Friendly Interface: Designed for all ages and skill levels, making location tracking simple and accessible.
📍 STAY CLOSE TO FAMILY AND FRIENDS
– Easily share your location and track your trusted contacts through this GPS phone locator.
– No more worrying where someone is – just connect through the Phone Locator app and stay updated responsibly.
– Phone Tracker & GPS Location helps families stay close even when they’re apart, using consent-based GPS sharing.
📱 FIND LOST DEVICES IN SECONDS
– Misplaced your phone or tablet? Use Phone Finder and GPS connection to find your own device instantly—even in silent mode.
– The Phone Finder function ensures your important devices are never truly lost.
📲 SAFEGUARD YOUR APP ACCESS
– Add an app lock with a 4-digit PIN to secure sensitive features and manage your privacy confidently in this secure phone tracker.
✅ IMPORTANT USAGE NOTES
– This app is intended for responsible use only.
– Location sharing is only possible with the knowledge and explicit consent of all parties involved.
– A stable internet connection and GPS access are required for best performance.
Stay safe and stay connected with Phone Tracker & GPS Location – your trusted Phone Locator and Phone Finder solution for location awareness and device safety. Download now and experience the smart way to track what matters.